Integrating Stripe & Building the Onboarding Phase
Building a seamless onboarding phase is critical, but doing it in a way that respects user privacy and secures payment data adds an entirely new layer of complexity. Today, I’m sharing the details behind integrating Stripe into JupiterGoals’ new onboarding flow, and why it was the best decision for our privacy-first architecture.
The Onboarding Phase
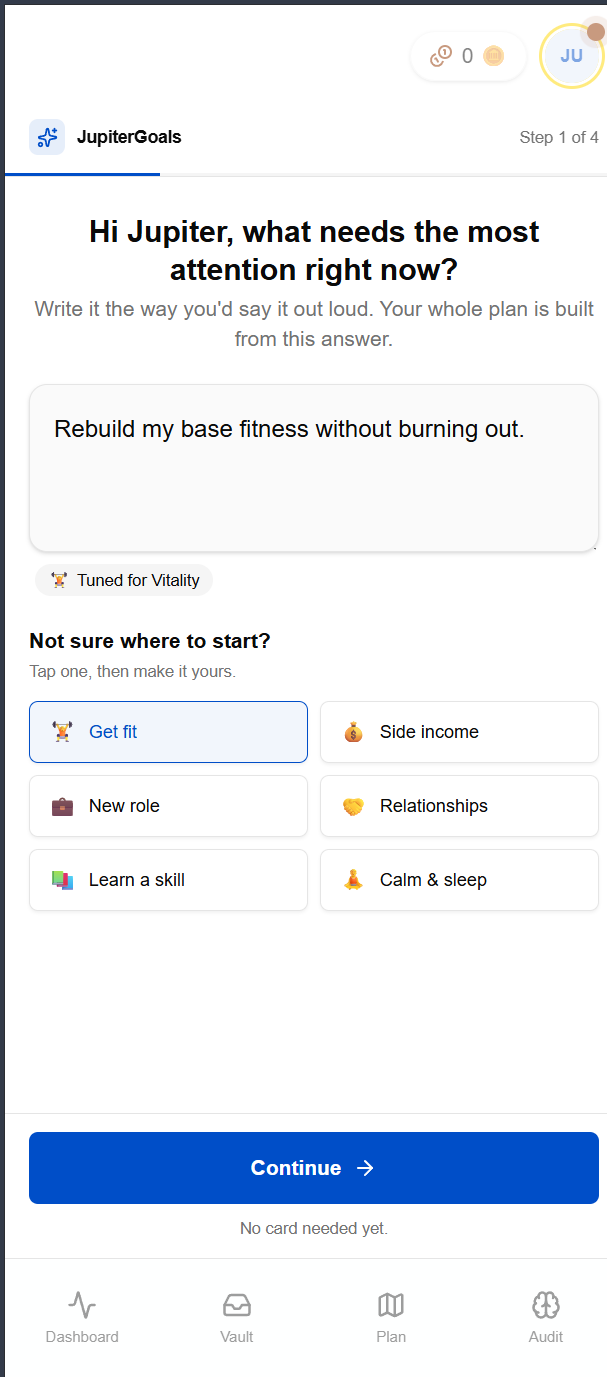
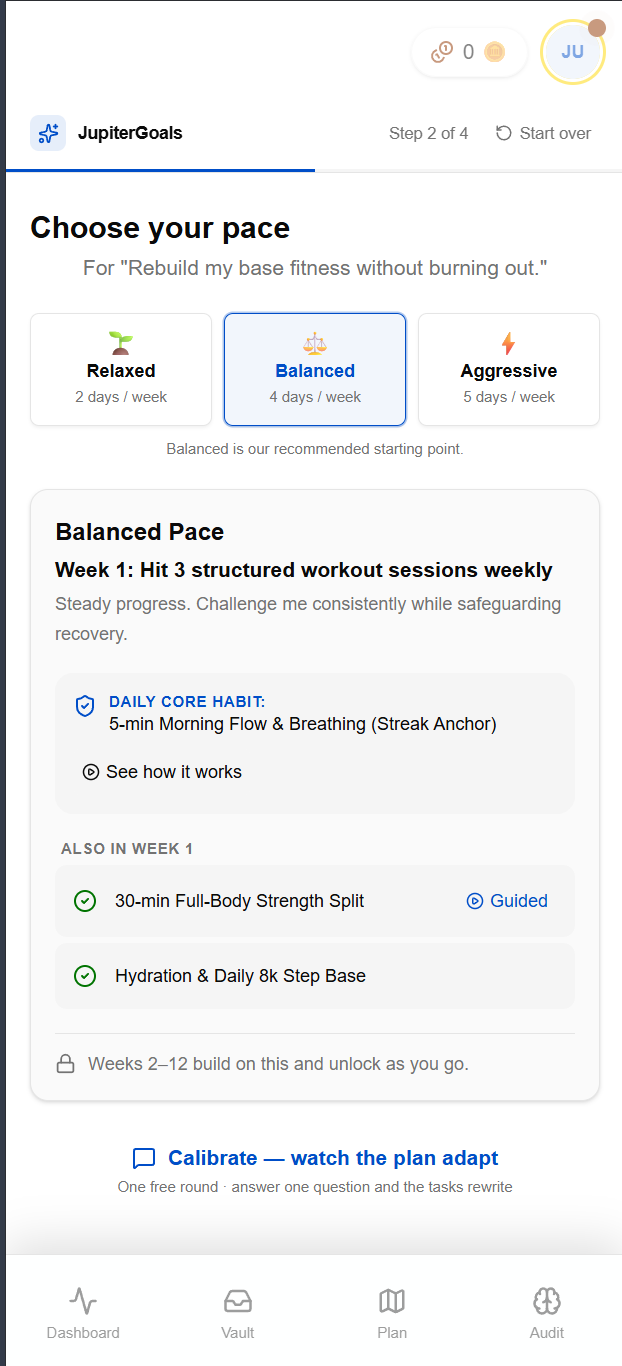
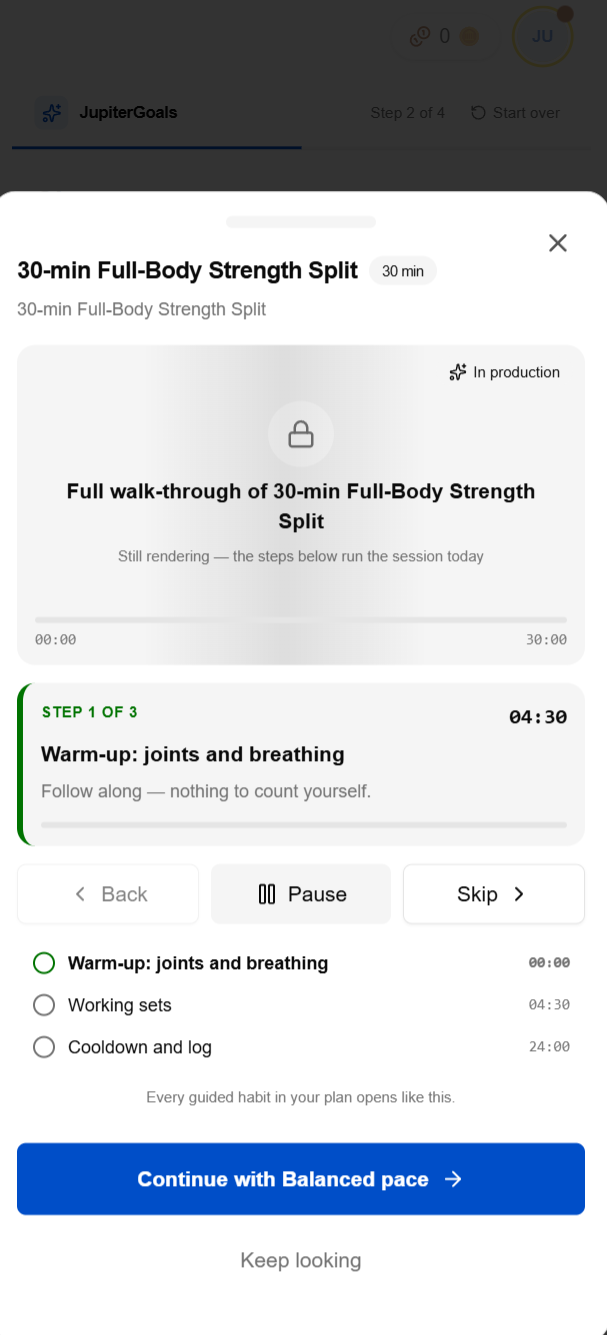
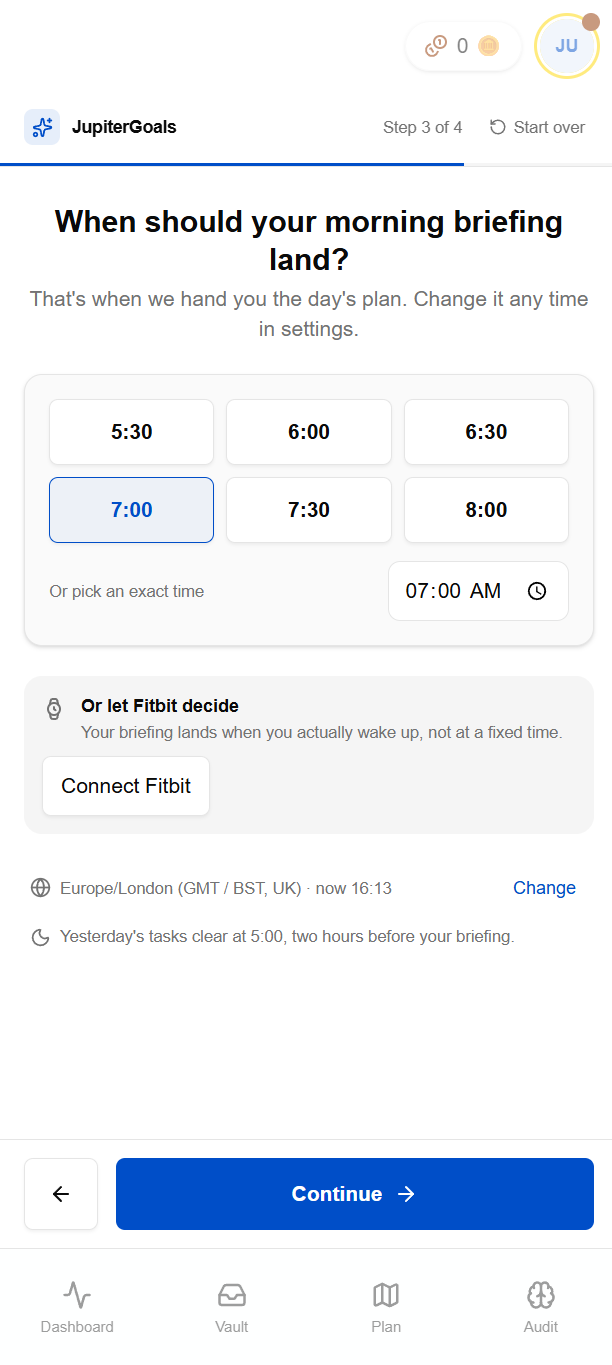
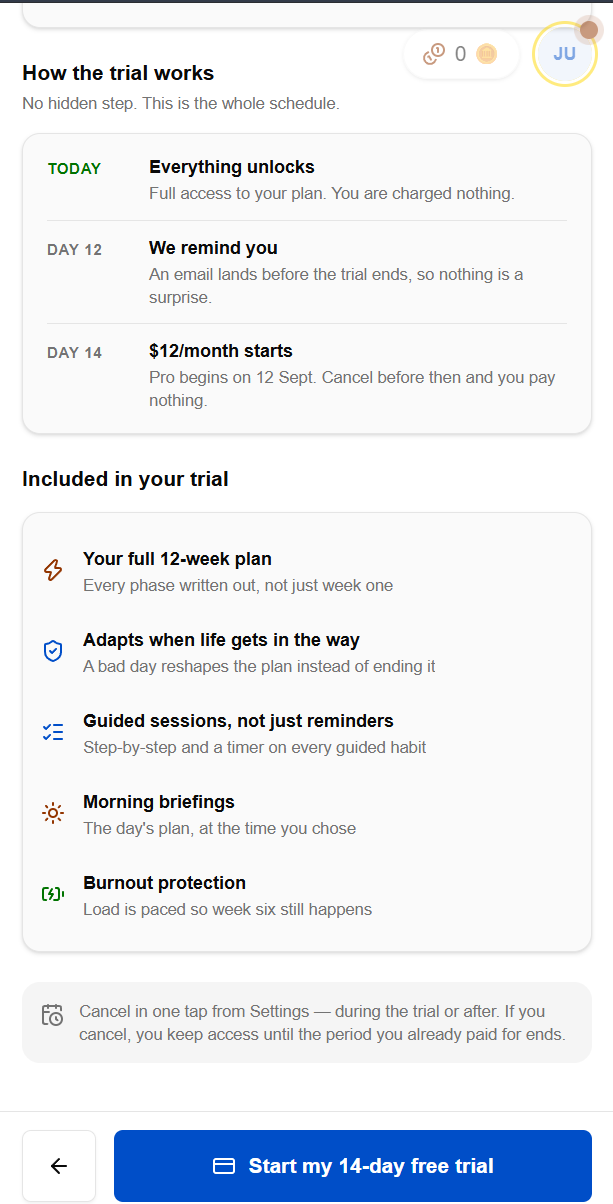
We recently rolled out the initial onboarding phase for the platform. This phase is designed to get users set up smoothly while handling the necessary payment configurations upfront. I’ll be attaching a few screenshots below as a teaser of what the flow looks like and what’s happening behind the scenes to make it feel frictionless.
Here is a look at the step-by-step flow (click any image to view full size):
Why Stripe? A Privacy-First Approach
A foundational principle of JupiterGoals is our privacy-first architecture: isolating personal identity from our core habit engine and offloading sensitive financial information. When evaluating payment processors, it became clear that Stripe was the ideal fit for this philosophy.
By integrating directly with Stripe, our backend avoids handling or storing sensitive payment card credentials. Credit card numbers, CVVs, and billing addresses flow directly to Stripe Elements, completely bypassing our servers. While our platform holds only the minimal contact info necessary for account access and optional accountability partner notifications, all financial footprinting is offloaded to Stripe.
This approach brings distinct advantages:
- Zero Financial Exposure: We keep our internal database completely free of sensitive payment card data.
- Isolated Billing Identity: Subscription and invoice lifecycles are centralized within Stripe’s dashboard, keeping our internal telemetry anonymized.
- PCI Compliance Offloaded: Because credit card data never touches our servers, the heavy burden of PCI compliance is handled entirely by Stripe.
Learnings: Sandbox Mode and Testing
One of the best parts of the Stripe integration process has been their developer tooling, specifically the Sandbox mode.
During the development of the onboarding phase, being able to rely on Stripe’s test environment was invaluable. Stripe provides fixed test credit card numbers that you can use to simulate successful payments, declines, and fraud checks. This meant we could thoroughly end-to-end test the entire onboarding and subscription flow, ironing out edge cases and handling webhooks, all without ever rolling out to production or processing real money.
The peace of mind that comes from being able to truly test everything before going live and paying for real infrastructure cannot be overstated.
A Quick Guide to the Integration
Overall, the integration process was surprisingly smooth. If you’re looking to implement a similar architecture, here’s a high-level look at how we set it up using Stripe’s official SDKs:
- Backend (Java): We utilized the official
stripe-javaSDK to securely generate Checkout Sessions and manage billing accounts on the server. - Frontend (React/TypeScript): We used
@stripe/stripe-jsto seamlessly redirect users to the hosted Stripe Checkout page during our onboarding paywall.
How it works in practice:
- The Setup: First, you’ll need to grab your API keys from the Stripe Developer Dashboard. You need the publishable key for your frontend and the secret key for your backend. You can dive into the specifics in the Stripe Developer Documentation.
- Creating a Checkout Session: When a user hits the paywall in our onboarding flow, our Java backend calls the Stripe API to create a Checkout Session. We explicitly configure this session to request only essential billing details, reinforcing our privacy-first data boundaries.
- The Redirect: The backend returns the Checkout URL, and the frontend simply redirects the user to Stripe’s securely hosted payment page.
- Webhooks: We implemented a secure webhook handler to listen for events like
checkout.session.completed. During local development, the Stripe CLI is a lifesaver—we run a background terminal session that automatically forwards webhook events to our local server to test the end-to-end flow.
This architecture keeps the heavy lifting of payment processing and PCI compliance completely out of our codebase while giving us a robust webhook system to provision access instantly.
Stay tuned for more updates as we continue refining the onboarding experience!
Related Articles
Faster, Cheaper, and Totally Broken: Why We Abandoned Local AI
Our $0 local SLM stack beat cloud APIs on speed, but failed 68% of pre-launch tests. Here is why we pivoted to single-pass frontier models—and the 3-stage architecture lifecycle.
Read article →The Spec Is Permanent, the Plan Is Garbage
How splitting the what from the how - and draining each plan back into the spec before deleting it - kept our specs true enough for AI agents to build from, and which automated gates actually hold the line.
Read article →Achieve your goals without the burnout
Get early access to our dynamic re-routing habit system. Missed days trigger automatic recalibration instead of broken streaks.
Join the Waitlist (Free 8-Wk Beta Pass)